
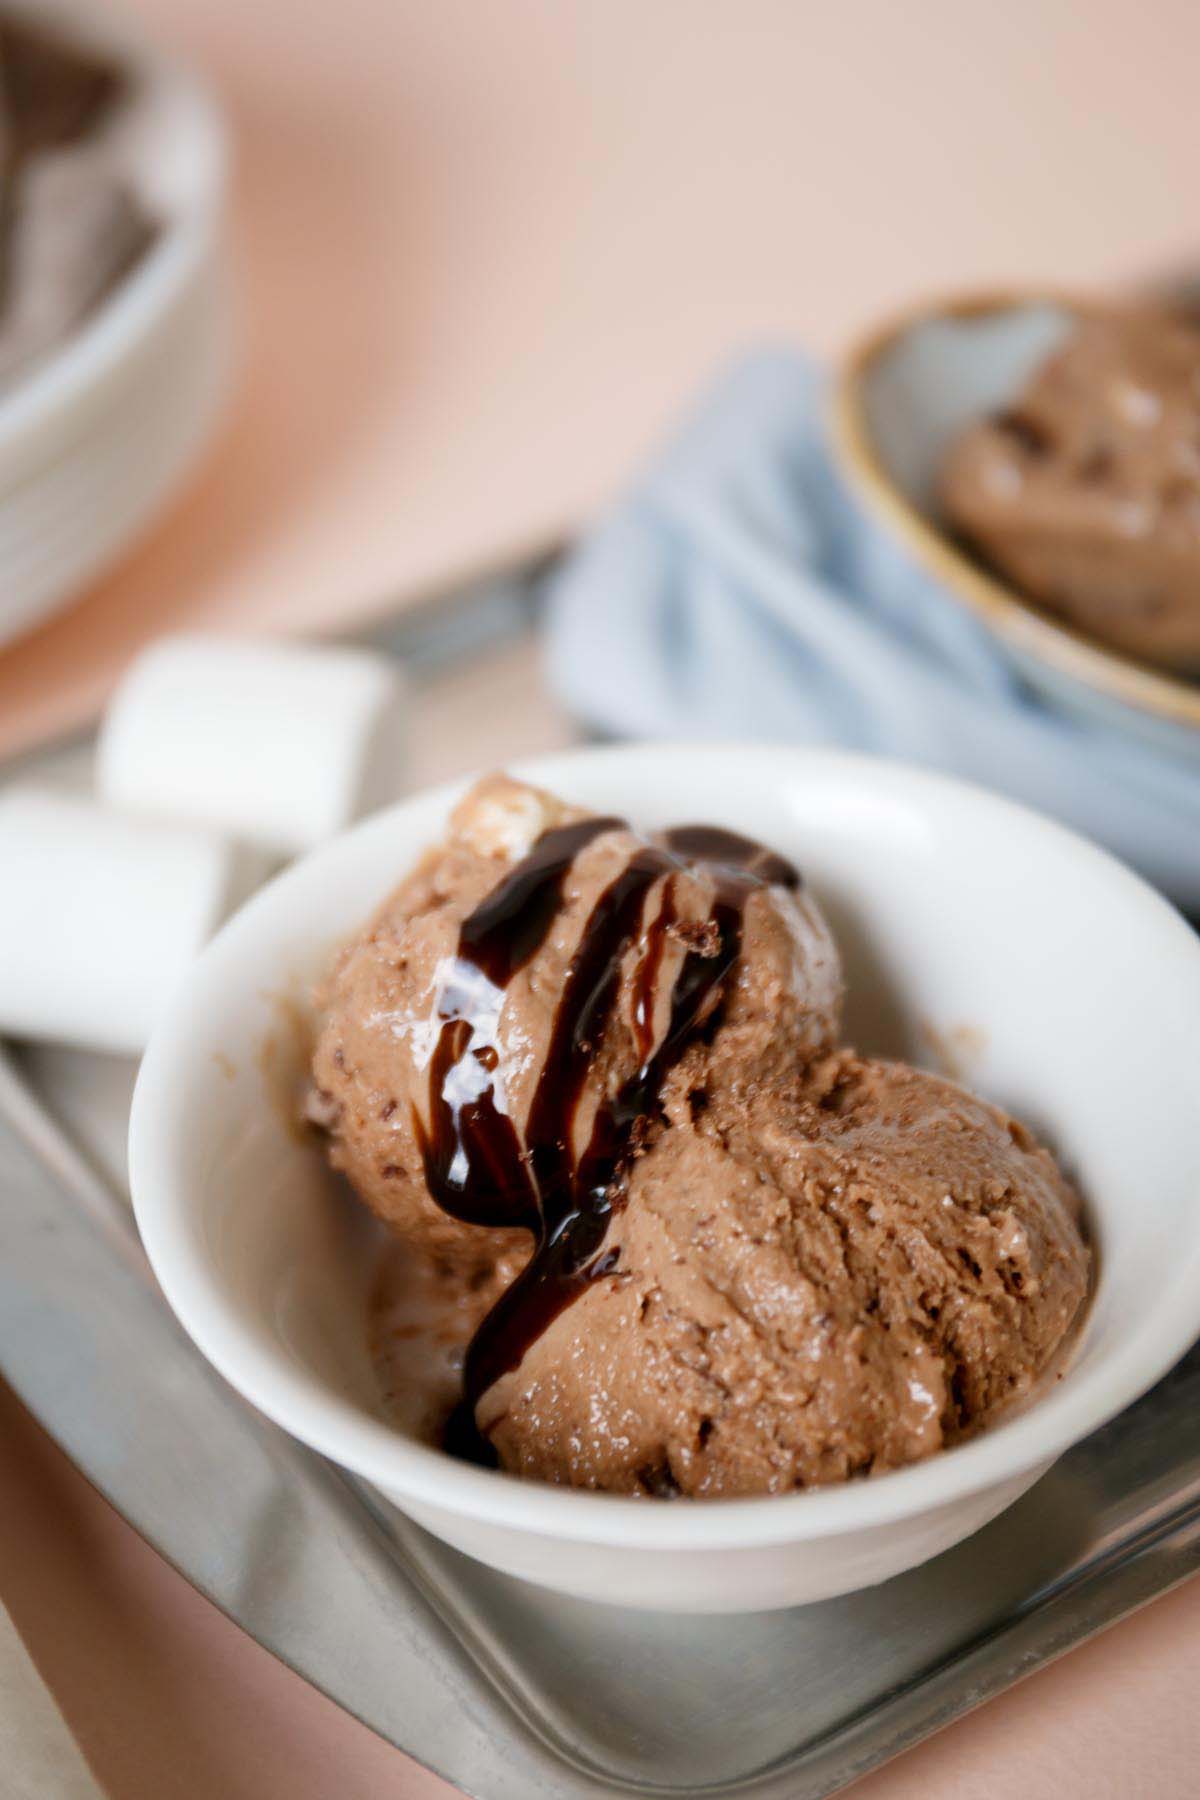
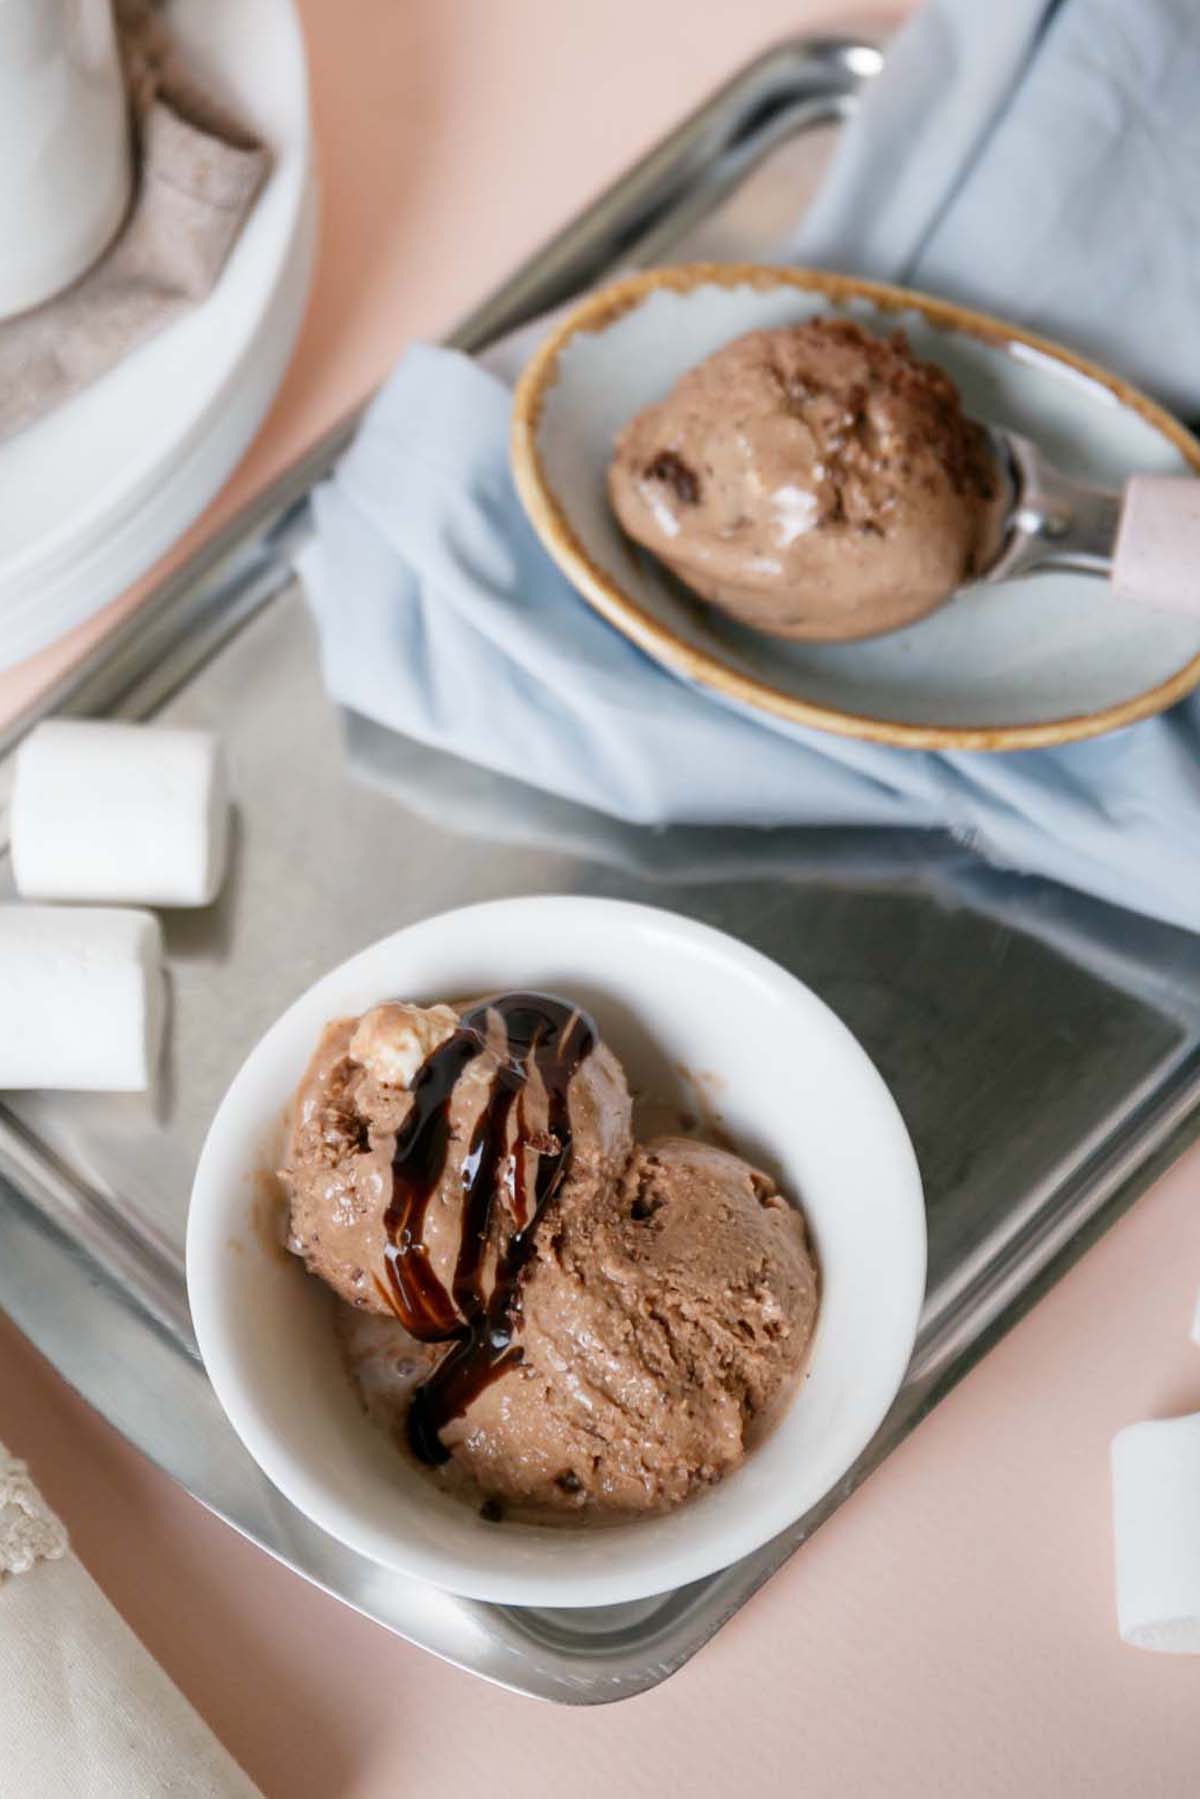
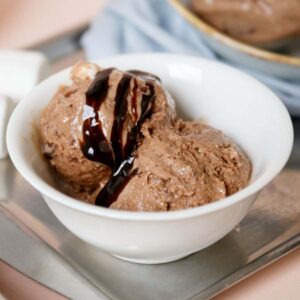
This delicious Chocolate Marshmallow Ice Cream is rich, creamy and loaded with sweet marshmallows. This rich chocolate ice cream is made with the freshest ingredients. The best part is you don't need an ice cream maker for this no-churn recipe!
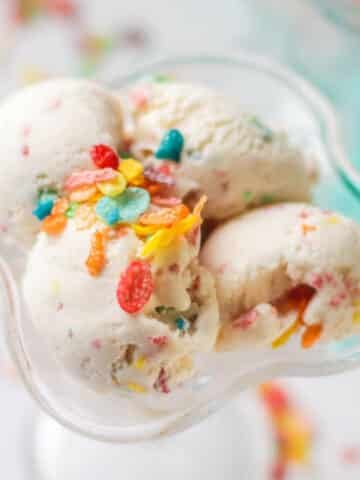
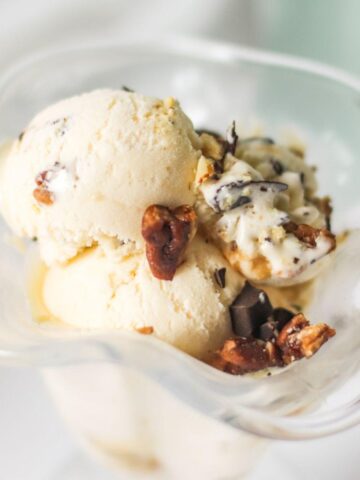
Try my Fruity Pebbles Ice Cream and Turtle Ice Cream for more amazing ice cream recipes!
Jump to:
Homemade ice cream recipes are the best. You can make your own decadent ice cream with your favorite flavors!
With just a few simple steps and basic ingredients, you will have this chocolate marshmallow ice cream recipe in no time.
Why You’ll Love This Recipe
This creamy chocolate ice cream taste just like rocky road ice cream if you toss in some chopped almonds. It's perfect for summer and so much better than store-bought.
This premium ice cream will become of favorite family recipe!
Ingredients You Need
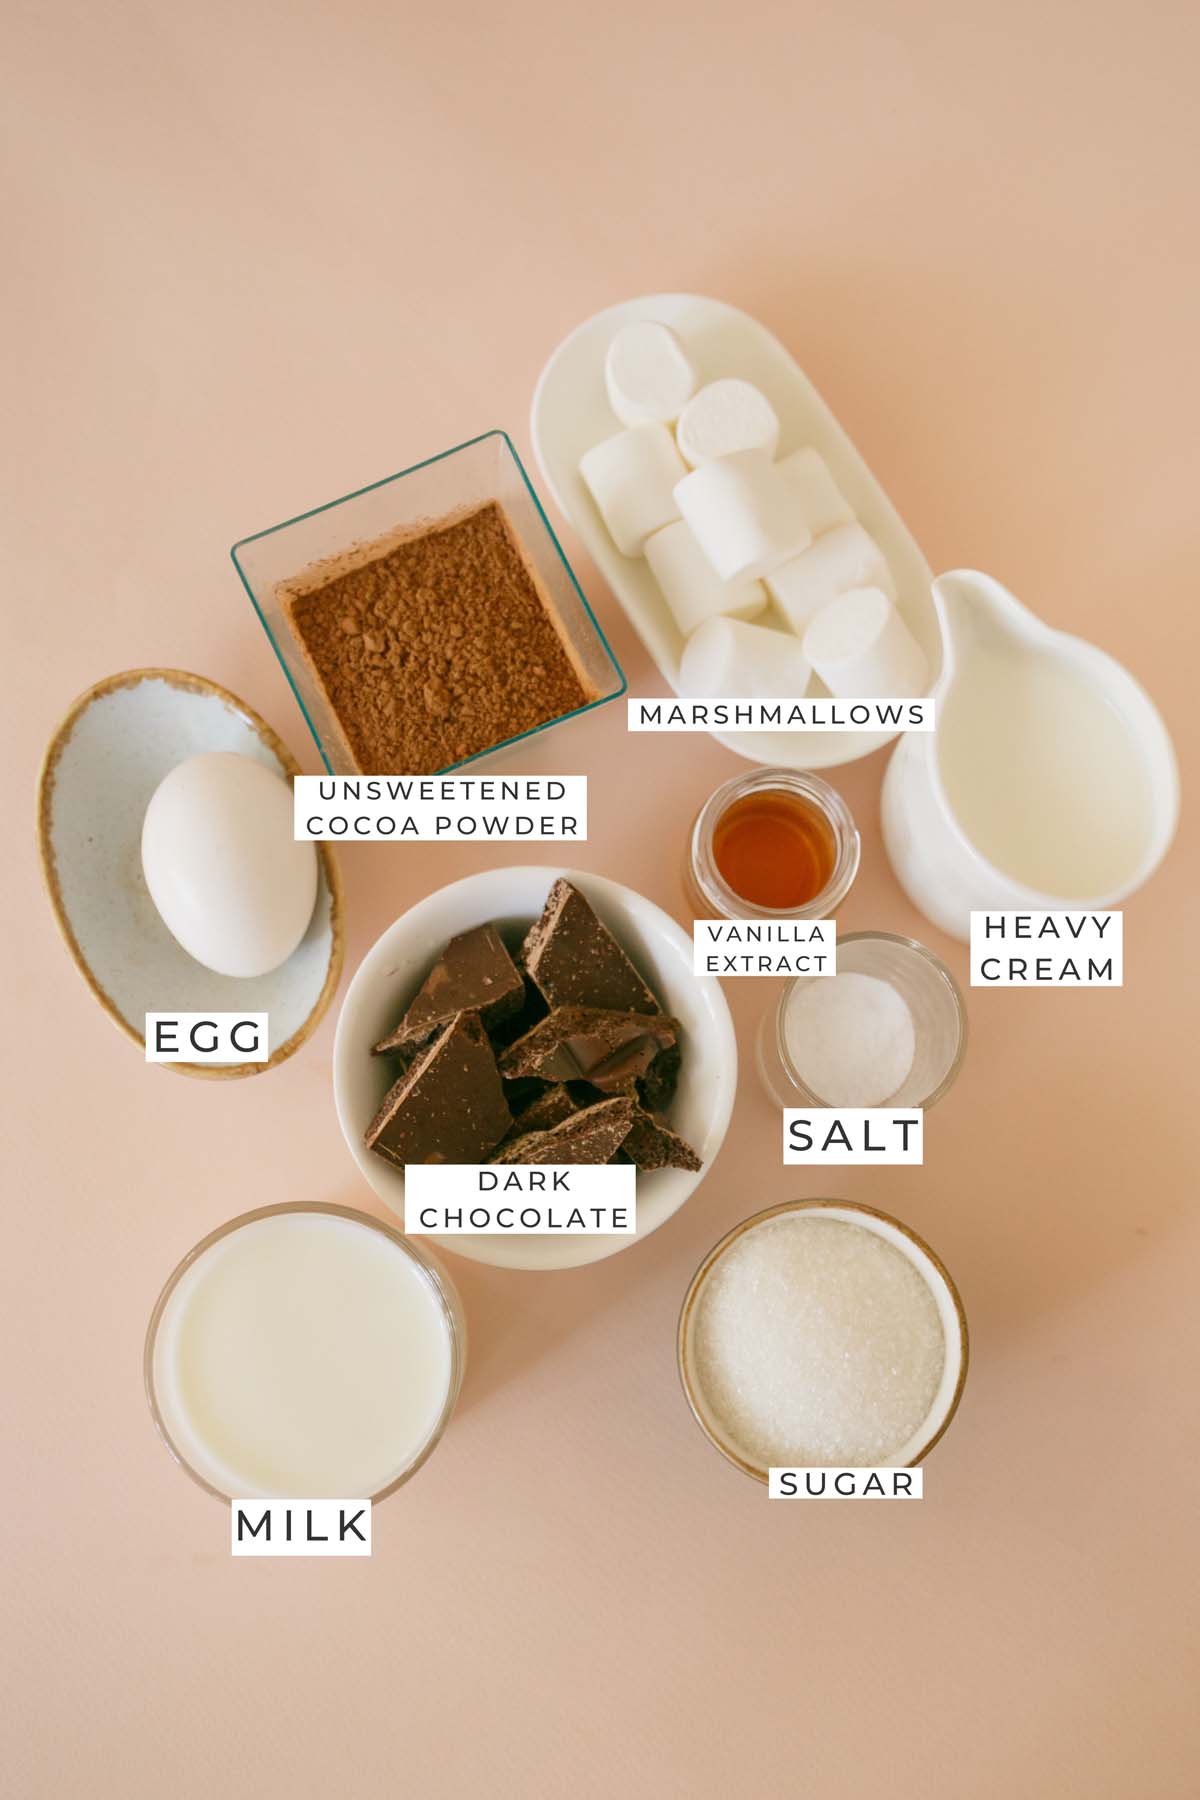
- Milk: Any milk will work, but 2% fat or higher will result in the creamiest no churn ice cream.
- Unsweetened cocoa powder: Use a good quality unsweetened cocoa powder for best flavor.
- Salt: A bit of salt balances out the sweetness from the sugar.
- Egg yolks: This is a critical ingredient that contributes to the creaminess.
- Sugar: Regular granulated sugar works best.
- Heavy cream: It gives the ice cream it’s ultra-creamy texture.
- Dark chocolate: I use 60% dark chocolate bars, but use your favorite. The darker the chocolate the more intense the chocolate flavor will be.
- Vanilla extract: Vanilla enhances the chocolate flavors even more.
- Marshmallows: You use more marshmallows too if you want more marshmallow flavor.
Step By Step Photos
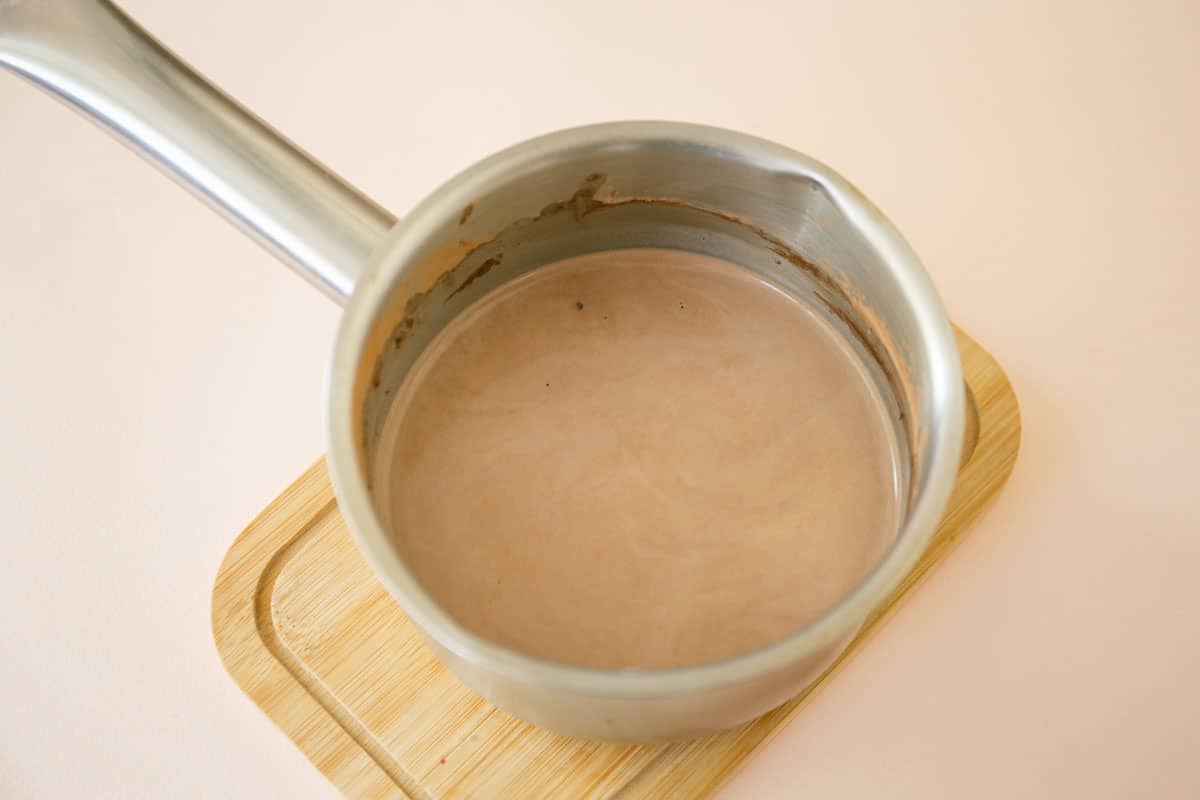
Heat milk and cocoa in a saucepan.
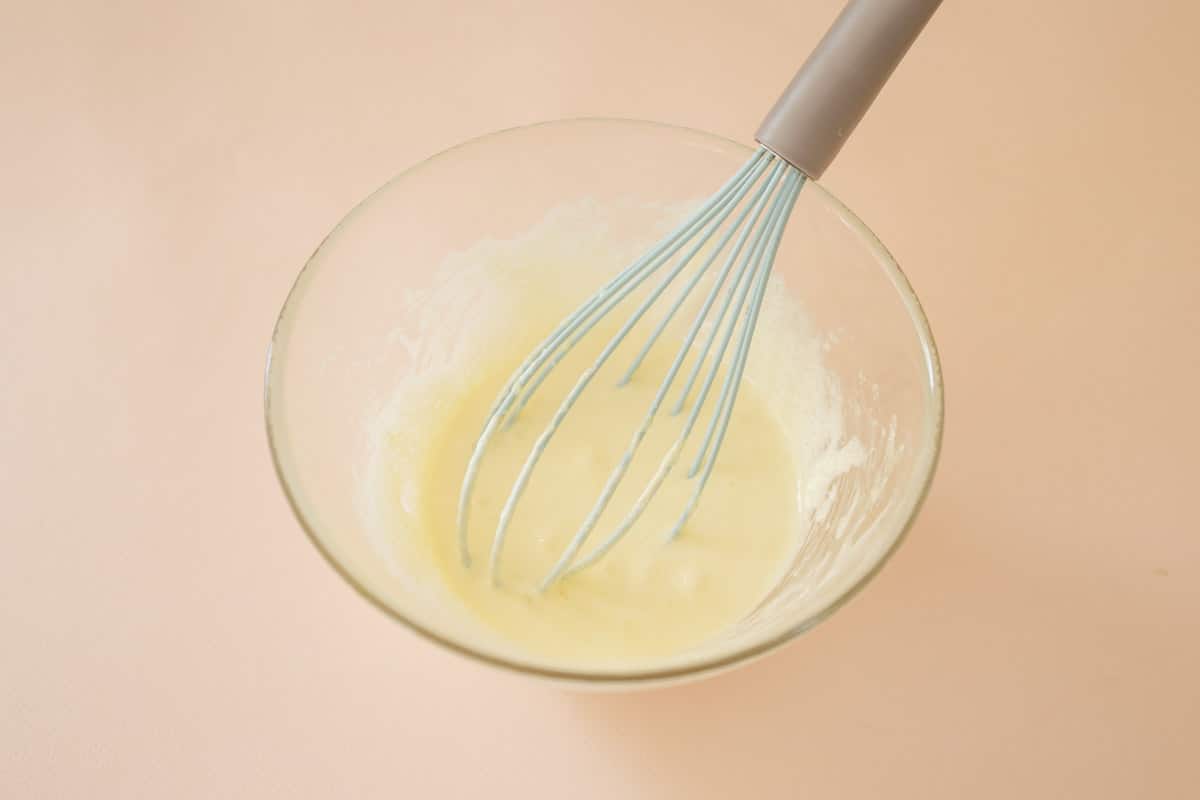
Mix the egg yolks with sugar.

Slowly pour hot milk into egg mixture.
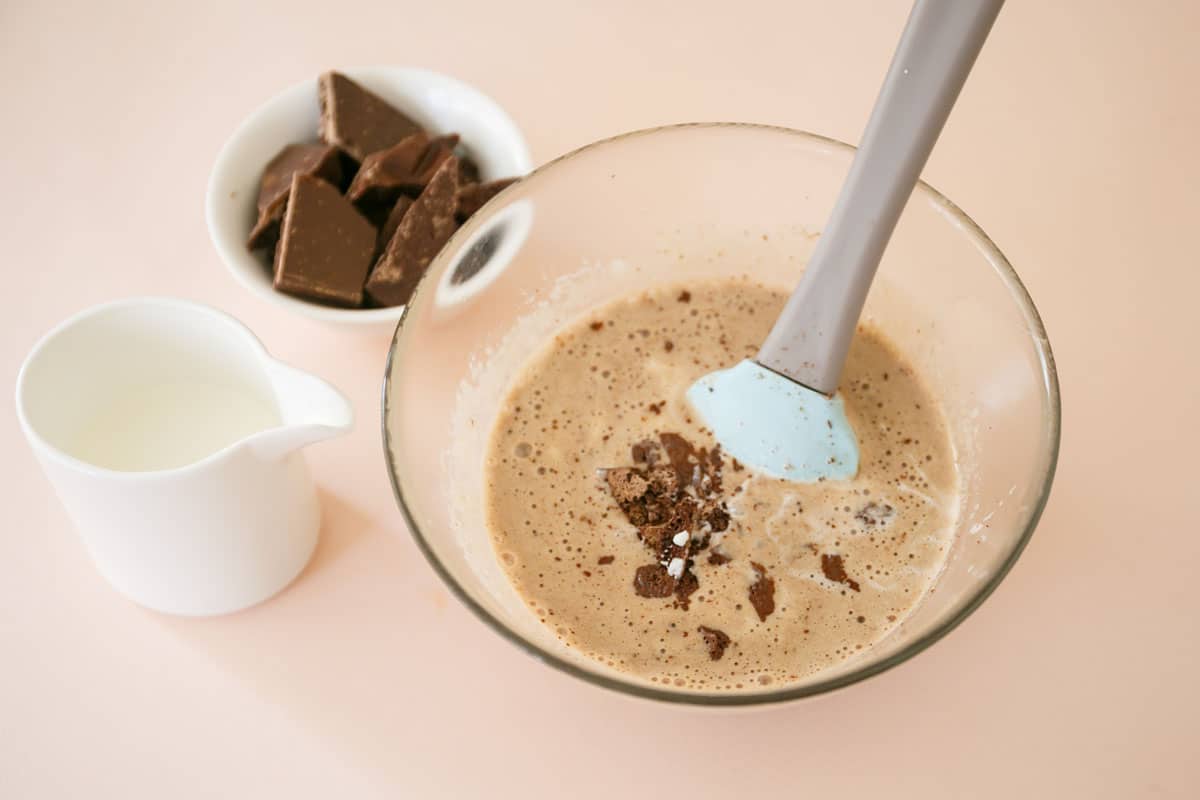
Add chocolate, heavy cream and vanilla.
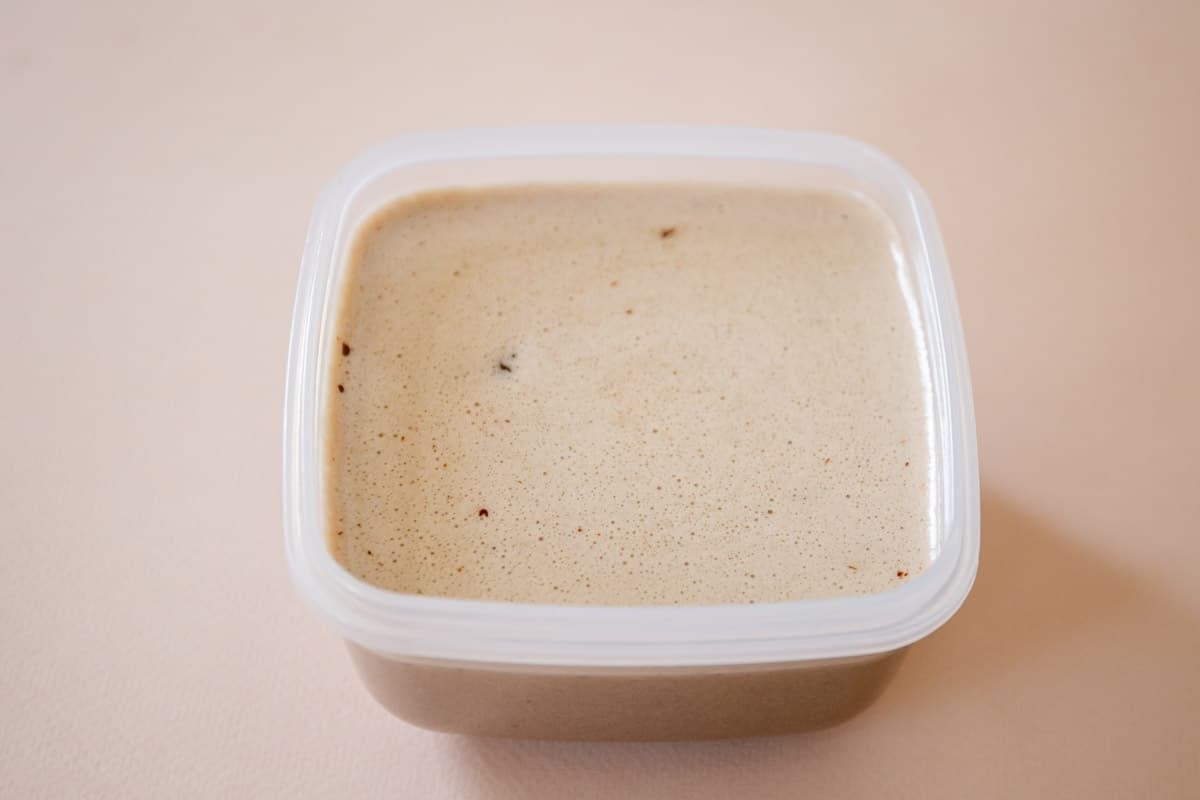
Pour ice cream mixture into a container.
Freeze for 3 hours.
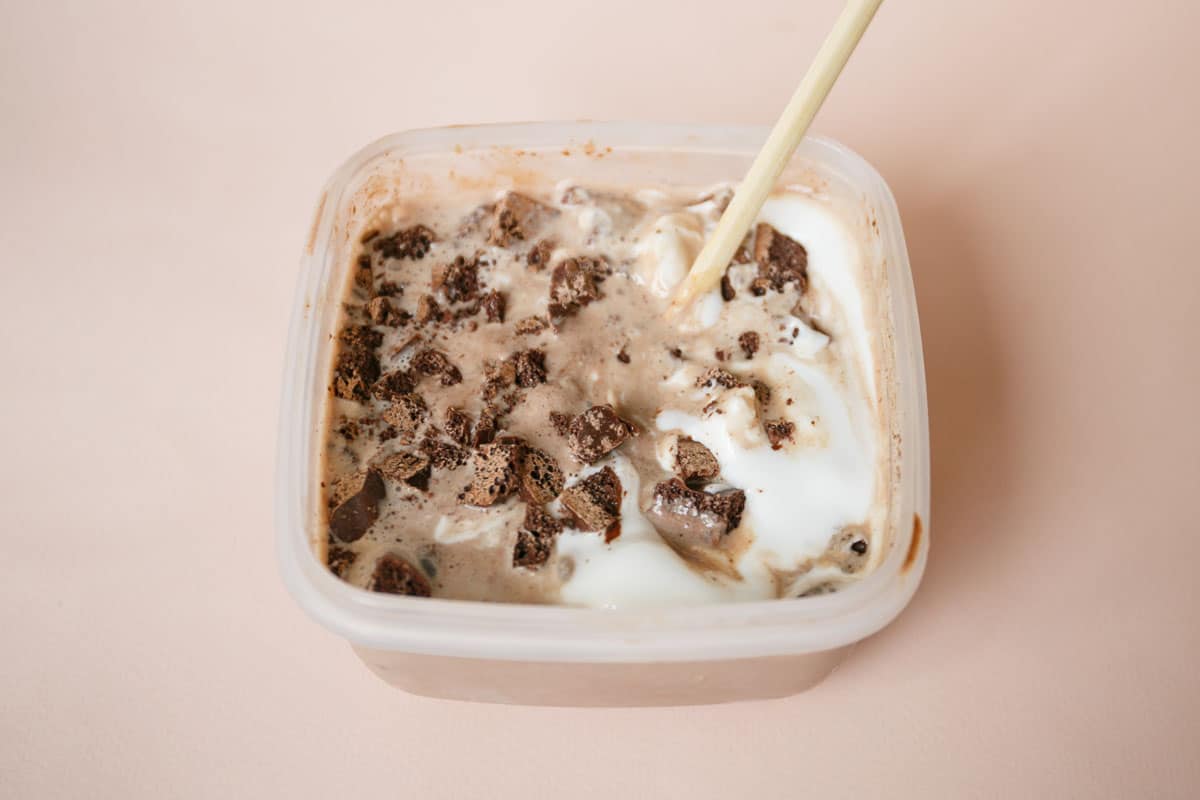
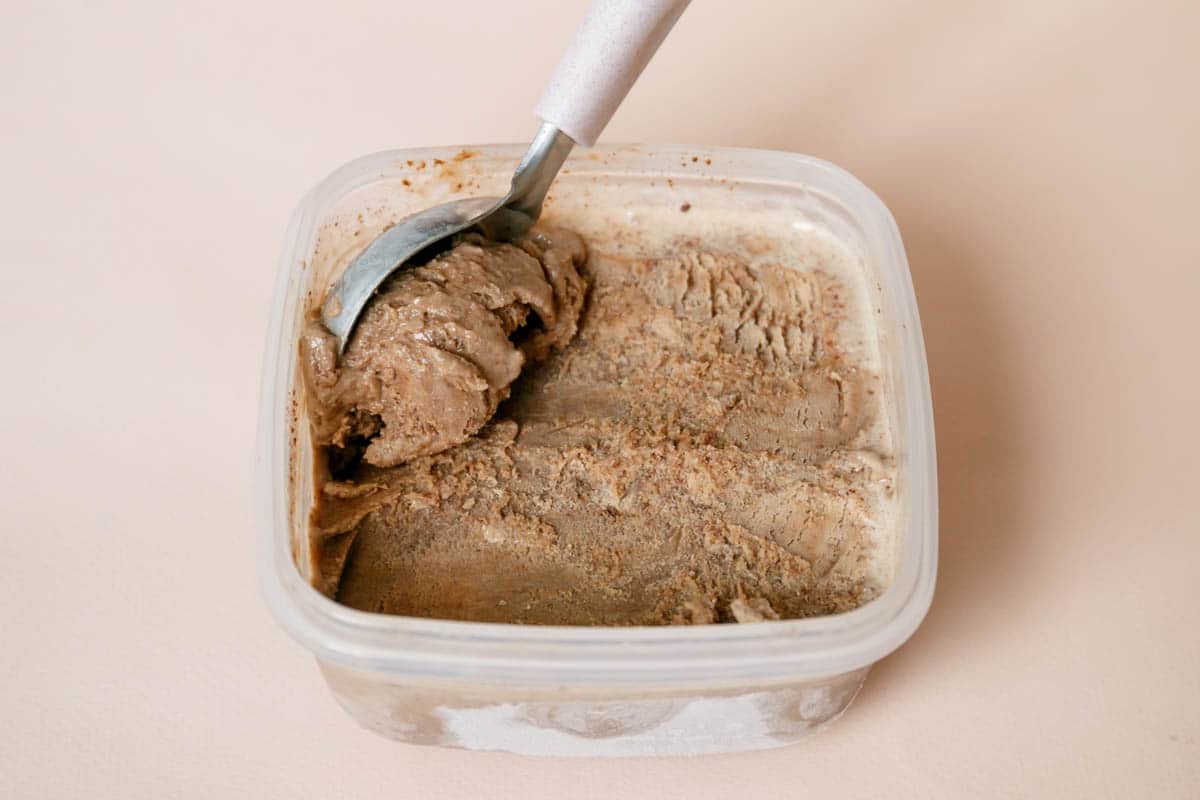
Fold in chocolate and marshmallows.

Freeze for another 3 hours.
How To Make Chocolate Marshmallow Swirl Ice Cream
Step 1. Prepare cocoa mixture: Heat whole milk in a saucepan without boiling. Add cocoa powder and salt, mix until dissolved.
Step 2. Create egg mixture: In a large mixing bowl, combine egg yolks with sugar with an electric mixer.
Step 3. Combine mixtures: Slowly pour half of the hot milk into the egg mixture, whisking gradually. Return the tempered egg mixture to the saucepan with the remaining milk.
Step 4. Thicken mixture: Heat on low until slightly thickened, ensuring not to boil. Remove from heat when the mixture coats the back of a spatula. Strain if needed.
Step 5. Add chocolate and cream: After cooling, add half of the chopped chocolate, heavy cream, and vanilla extract. Mix.
Step 6. Freeze initial mixture: Pour the ice cream mixture into a container, cover with foil, and freeze for 3 hours.
Step 7. Melt marshmallows: Melt marshmallows over low heat. Remove when they start melting and stir until fully melted.
Step 8. Combine and freeze again: Remove ice cream, let it stand, and loosen with a spoon. Fold in the remaining chopped chocolate and melted marshmallows. Cover and return to the freezer for an additional 3 hours, or until fully frozen. When you're ready to eat the ice cream, remove it from the freezer for about 10-15 minutes for easy scooping.
NOTE: You can print the FULL recipe with all ingredients & detailed instructions below!
Tips
- Be sure to chop the chocolate into small chocolate chunks so they aren't too hard to bite into when frozen.
- A great shortcut is using sweet marshmallow fluff. If you do, I suggest warming up the fluff so that it's easier to work with. Then, you can swirl it into the ice cream with a knife to evenly distribute.
- Add in some extra mix-ins to the ice cream base! Nuts, graham crackers pieces, and chocolate chips are my some of my favorites. Top with whipped cream and melted chocolate.
- If you want whole marshmallows instead of melted you can do that too! Use mini marshmallows or cut regular size marshmallows into bite-sized pieces before mixing them into the ice cream.
Frequently Asked Questions About Homemade Ice Cream
Store the ice cream in a freezer-safe container to prevent freezer burn. Make sure it is securely covered with a lid or plastic wrap. You can store the chocolate marshmallow ice cream for up to 2-3 weeks in the freezer.
Press a piece of plastic wrap directly onto the surface of the ice cream before sealing the container. This helps create a barrier against air exposure.
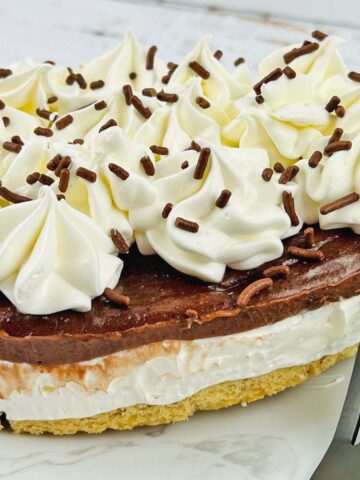
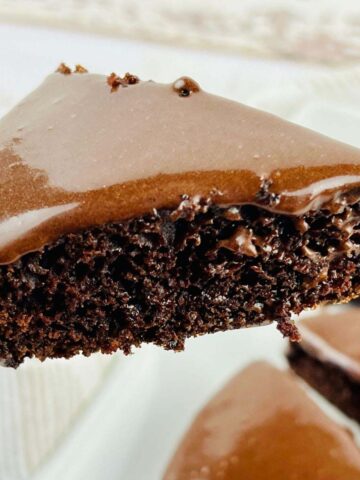
More Chocolate Recipes You Might Enjoy

If you love this recipe, please leave a comment with a five-star rating — or simply hit the five-star button in the recipe card. Don't forget to signup for my newsletter.
Chocolate Marshmallow Ice Cream
Equipment
Ingredients
- 1 ½ cups whole milk
- 2 tablespoons unsweetened cocoa powder
- ⅛ teaspoon salt
- 4 egg yolks
- ¾ cup sugar
- 1 cup dark chocolate chopped
- 1 ½ cups heavy cream
- 1 teaspoon vanilla extract
- 1 cup marshmallows
Instructions
- Heat milk in a saucepan without boiling. Add cocoa powder and salt, mix until dissolved.
- In a large mixing bowl, combine egg yolks with sugar with an electric mixer.
- Slowly pour half of the hot milk into the egg mixture, whisking gradually. Return the tempered egg mixture to the saucepan with the remaining milk.
- Heat on low until slightly thickened, ensuring not to boil. Remove from heat when the mixture coats the back of a spatula. Strain if needed.
- After cooling, add half of the chopped chocolate, heavy cream, and vanilla extract. Mix.
- Pour the ice cream mixture into a container, cover with foil, and freeze for 3 hours.
- Melt marshmallows over low heat. Remove when they start melting and stir until fully melted.
- Remove ice cream, let it stand, and loosen with a spoon. Fold in the remaining chopped chocolate and melted marshmallows.
- Cover and return to the freezer for an additional 3 hours, or until fully frozen.
Notes
- Be sure to chop the chocolate into small chocolate chunks so they aren't too hard to bite into when frozen.
- A great shortcut is using sweet marshmallow fluff. If you do, I suggest warming up the fluff so that it's easier to work with. Then, you can swirl it into the ice cream with a knife to evenly distribute.
- Add in some extra mix-ins to the ice cream base! Nuts, graham crackers pieces, and chocolate chips are my some of my favorites. Top with whipped cream and melted chocolate.
- If you want whole marshmallows instead of melted you can do that too! Use mini marshmallows or cut regular size marshmallows into bite-sized pieces before mixing them into the ice cream.
- Storing: Store the ice cream in a freezer-safe container to prevent freezer burn. Make sure it is securely covered with a lid or plastic wrap. You can store the chocolate marshmallow ice cream for up to 2-3 weeks in the freezer.
Nutrition
All nutritional information is based on third-party calculations and should be considered estimates. Actual nutritional content will vary with brands used, measuring methods, portion sizes and more.
Leave a Reply